Nail Stamping with Gel Polish & Chrome:
My Favorite Plates, My Exact Technique
Hello Kitty. Lace. Y2K. Denim. If a stamping plate exists for it, I’ve probably chromed it. Here’s exactly how I do it — and every product you need to steal my look.
Why I’m Obsessed with Nail Stamping
Let me be real with you: I am not a nail art painter. I admire the women who freehand florals and micro portraits — truly, it’s a gift. But stamping? Stamping is the great equalizer. It takes a design that would take a skilled artist twenty minutes and puts it on your nail in about ten seconds. And when you layer chrome over it? Unreal.
I’ve been refining this technique for a while now, and I finally feel like I’ve cracked it. The secret is in the gel formula you use for stamping, the cure time, and the order of operations. Get those right and your stamped chrome nails will look like they came from a luxury salon — without the price tag or the appointment.
“Stamping with gel + chrome is the technique I recommend every time someone says they wish they could do nail art but thinks they can’t. If you can press a stamp, you can do this.”
The Products I Actually Use
I’m not going to send you down a rabbit hole of products that don’t work together. Everything below is what I personally use, tested in my own lamp, on real clients. Click the links to grab them and let’s get started.
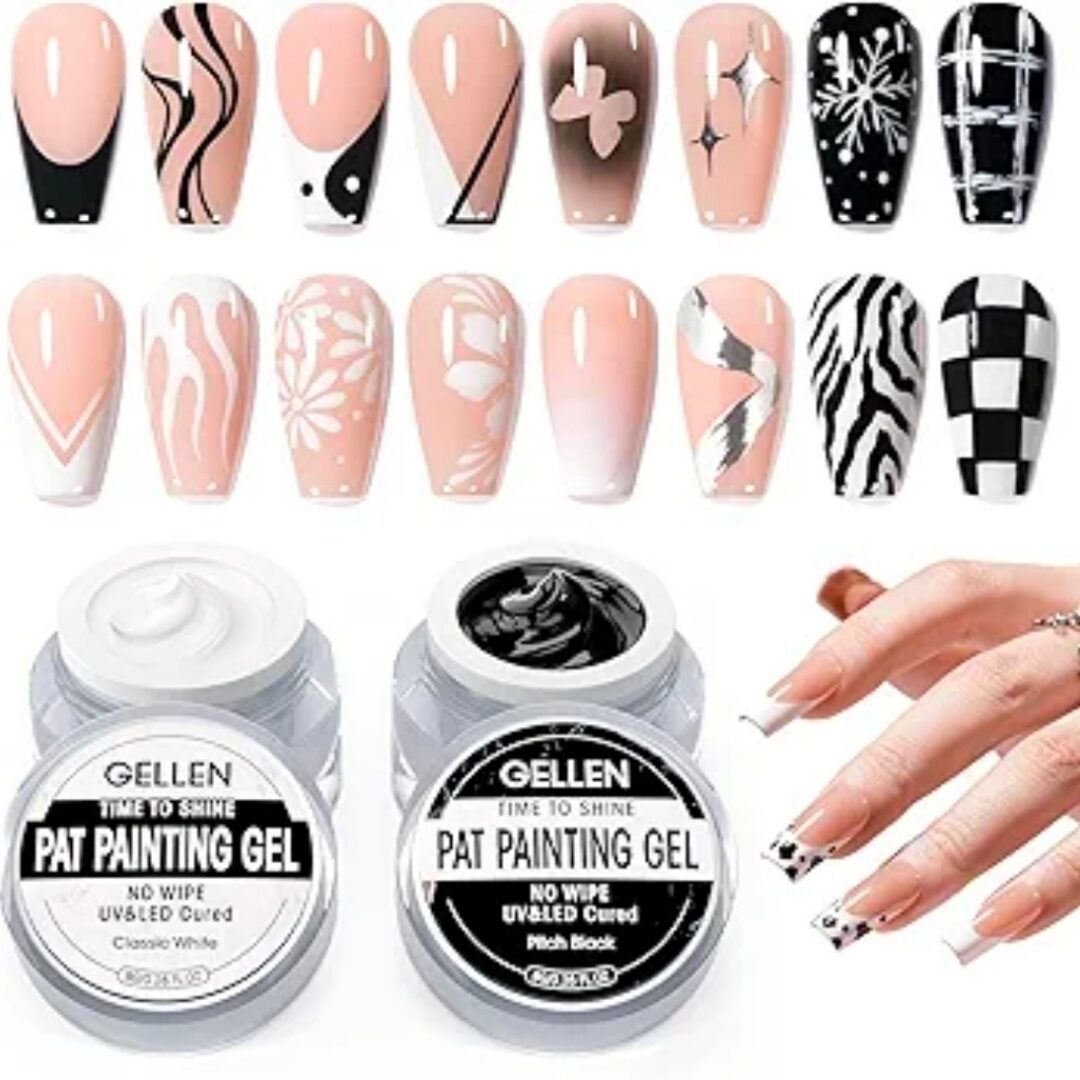
The Stamping Gel
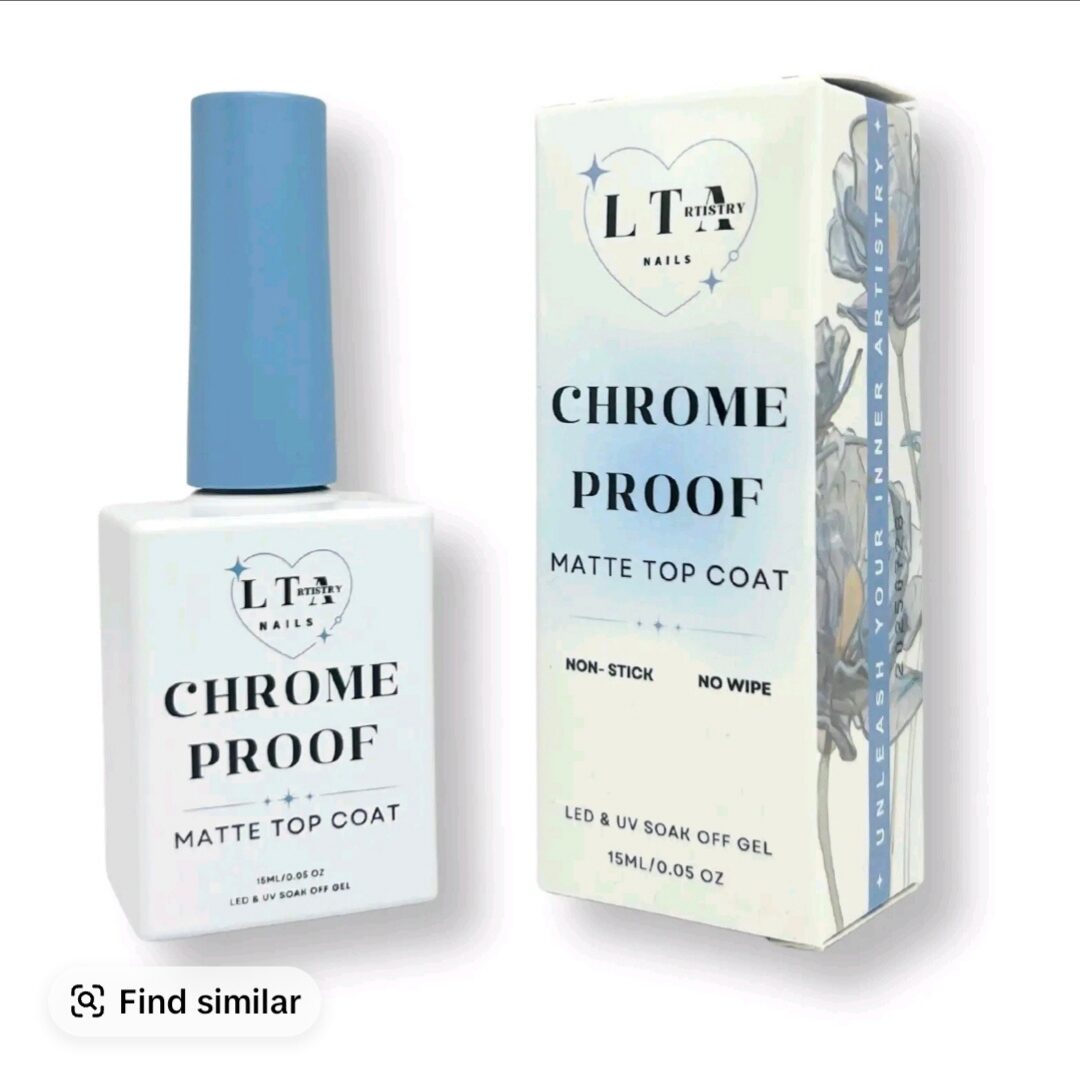
The Chrome Topcoat Base — My Secret Weapon
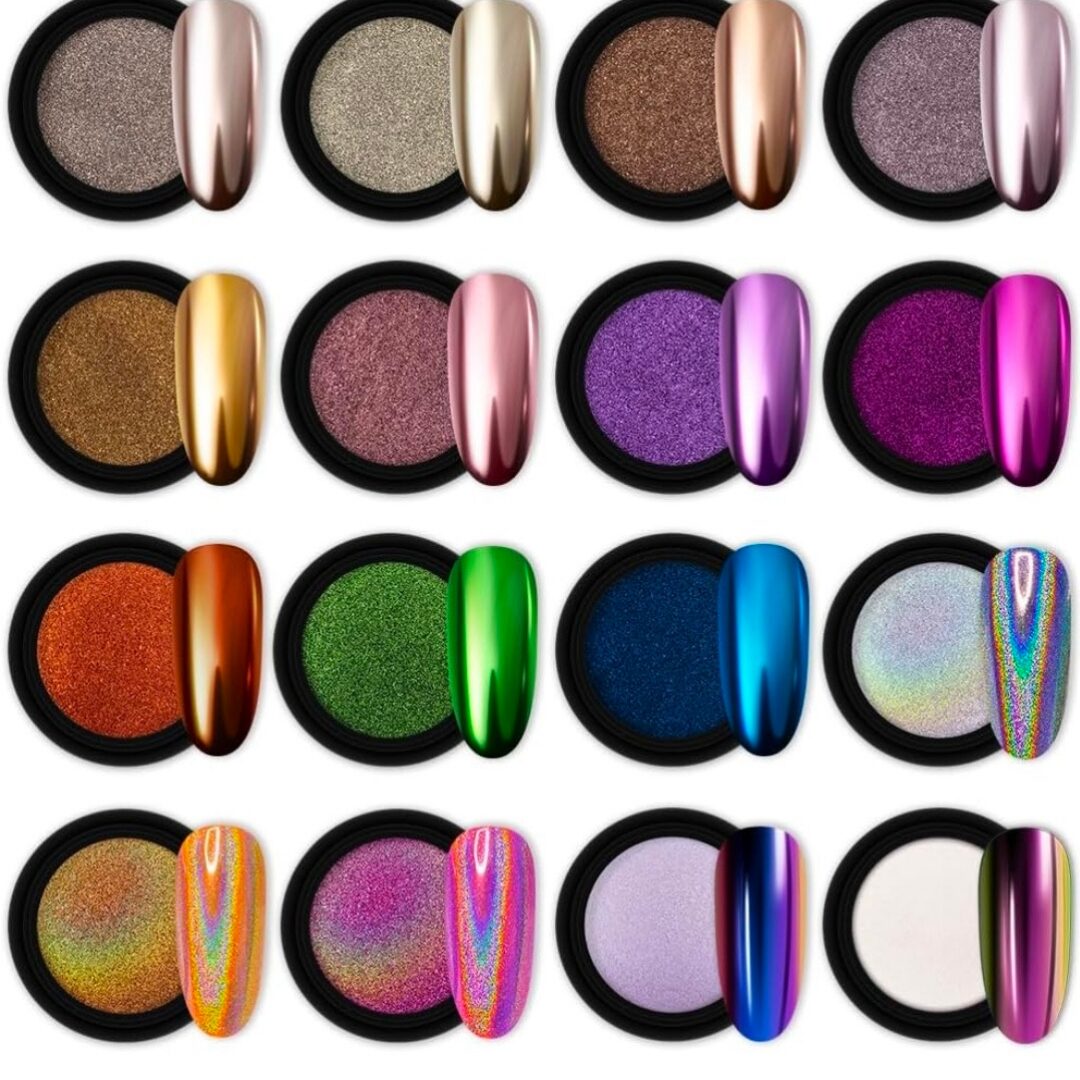
The Chrome Powder
The Encapsulating Gel

Always do a test nail first — every lamp is different. I do a test to nail my exact cure window before starting a full set. Usually it lands between 8–12 seconds for me, but yours may vary. A little testing upfront saves a lot of frustration.
Step-by-Step: How to Stamp with Gel & Chrome
This is my exact process. Follow this order and you’ll get consistent, professional results every time. It’s simpler than it looks, I promise.
-
Apply Your Gel Polish Base
Complete your normal gel polish application — base coat, color coats, cure each layer fully. Your color should be done and cured before you touch a stamping plate.
-
Apply Chrome Proof Matte — Cure
Apply a coat of the Chrome Proof Matte by LTA over your cured gel polish. Cure it. This creates the receptive matte surface your stamp and chrome will adhere to — skipping this step is skipping the secret sauce.
-
Load Your Stamping Plate with Gel
Apply the Gellen gel to your chosen stamping plate design, then scrape off the excess so only the etched design holds gel. You want a thin, loaded layer — not a blob.
-
Pick Up with Your Silicone Stamper
Press your silicone stamper firmly onto the plate design to pick it up. Work quickly — gel is light-sensitive, so work away from direct window light or UV exposure while you transfer.
-
Apply to the Nail
Press the stamper to the nail over the cured Chrome Proof Matte surface. Press gently but firmly and roll slightly if needed to cover the nail shape. Lift straight up — no dragging.
-
Cure 8–10 Seconds
Here’s the key: you are NOT fully curing here. You want a short cure — 8 to 10 seconds depending on your lamp — so the gel is set but still has just enough tackiness to grip your chrome powder. A test nail will confirm your exact timing.
-
Apply Chrome Powder
Using an eyeshadow brush or chrome applicator, buff the chrome powder over the stamp. Watch it come to life. The matte base + partially cured gel combo is what makes the chrome snap into place like a mirror. Wipe off excess with a clean brush.
-
Encapsulate with Build in a Bottle — Cure
Apply a thin, even coat of Kupa Build in a Bottle over the finished chrome stamp and cure fully. This seals everything in and adds durability and structure.
-
Top Coat — Cure & Done
Finish with your favorite top coat and cure. That’s it. Stamped. Chromed. Encapsulated. Gorgeous. You just did that.
This entire technique is designed for people who want stunning nails without a fine-art skill set. If you can press a stamp and buff a powder, you can do this. The encapsulation step is especially great when you’re in a hurry — it adds structure and a finished look instantly. Start here, and you’ll never go back to plain gel polish.
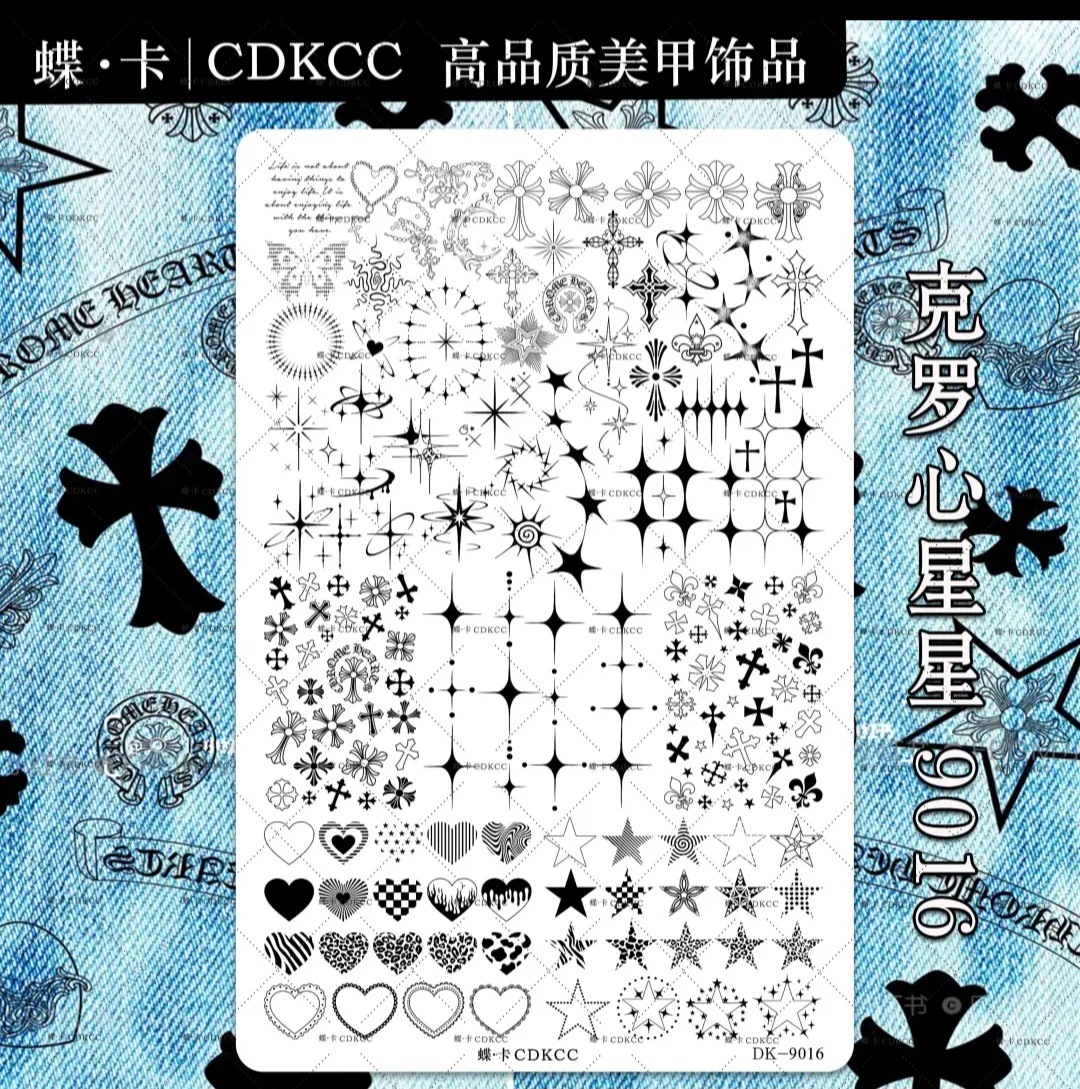
My Favorite Stamping Plates Right Now
A stamping plate is only as good as the designs on it. I gravitate toward plates with intricate detail, clear etching, and designs I actually want to wear. Here are the ones currently living on my desk.
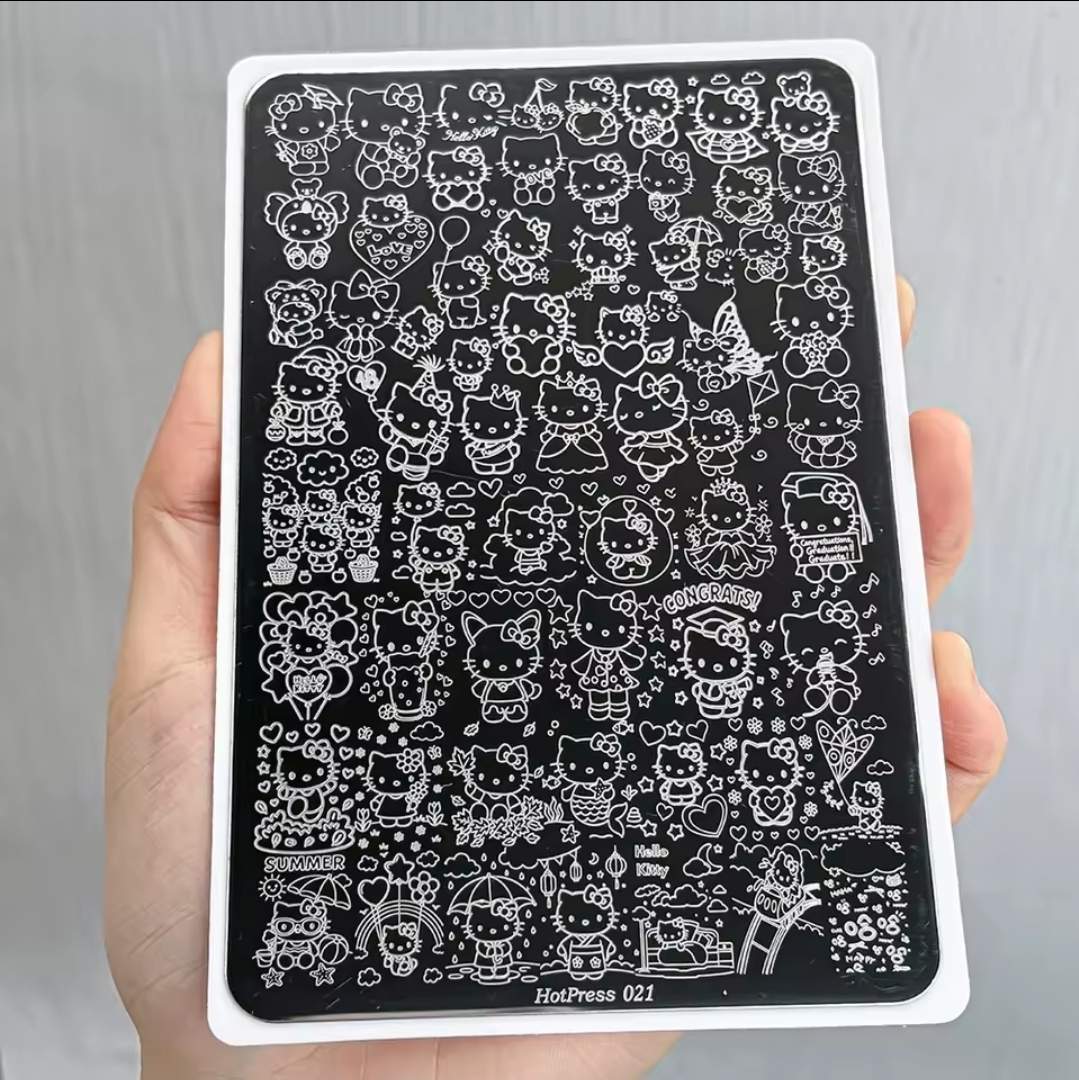
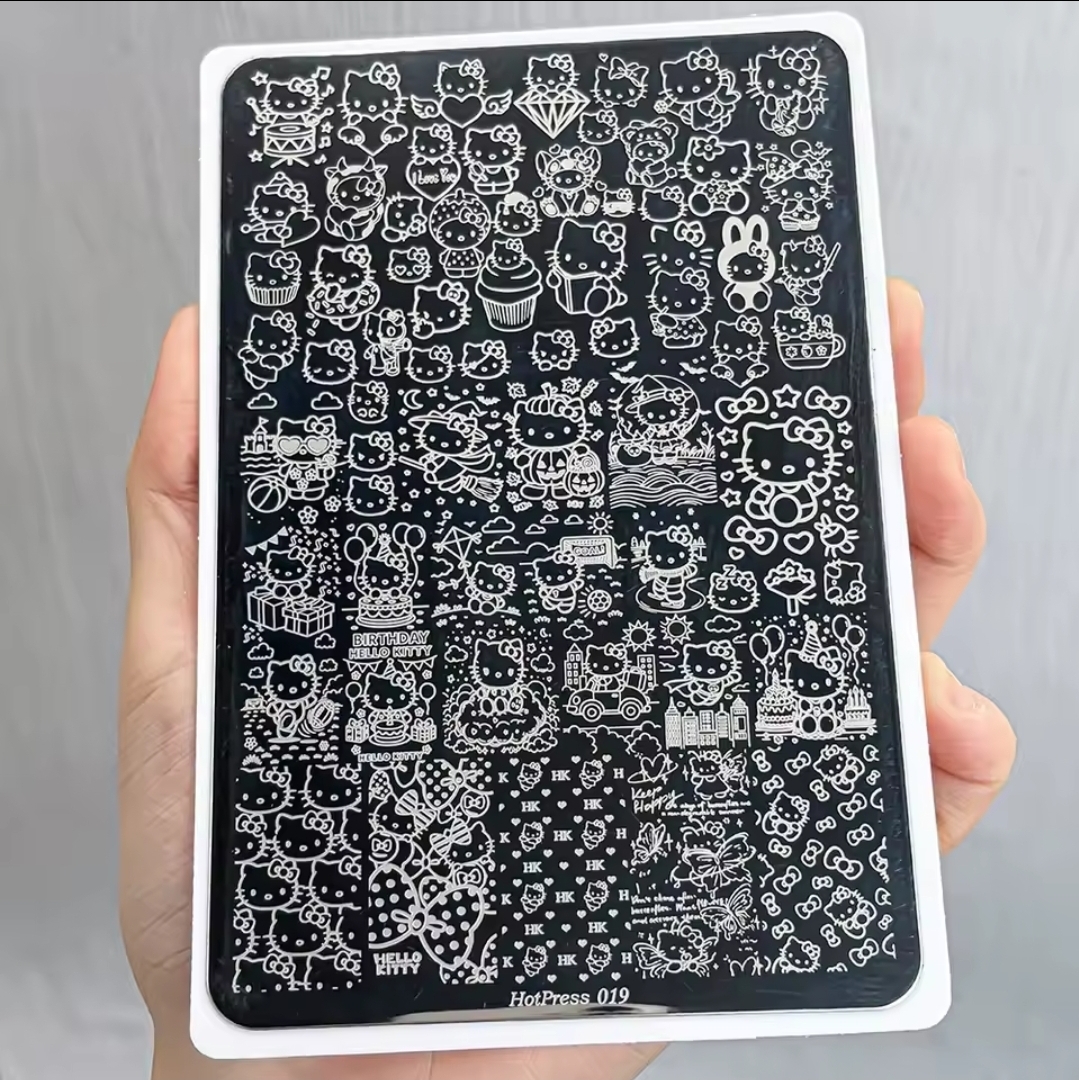
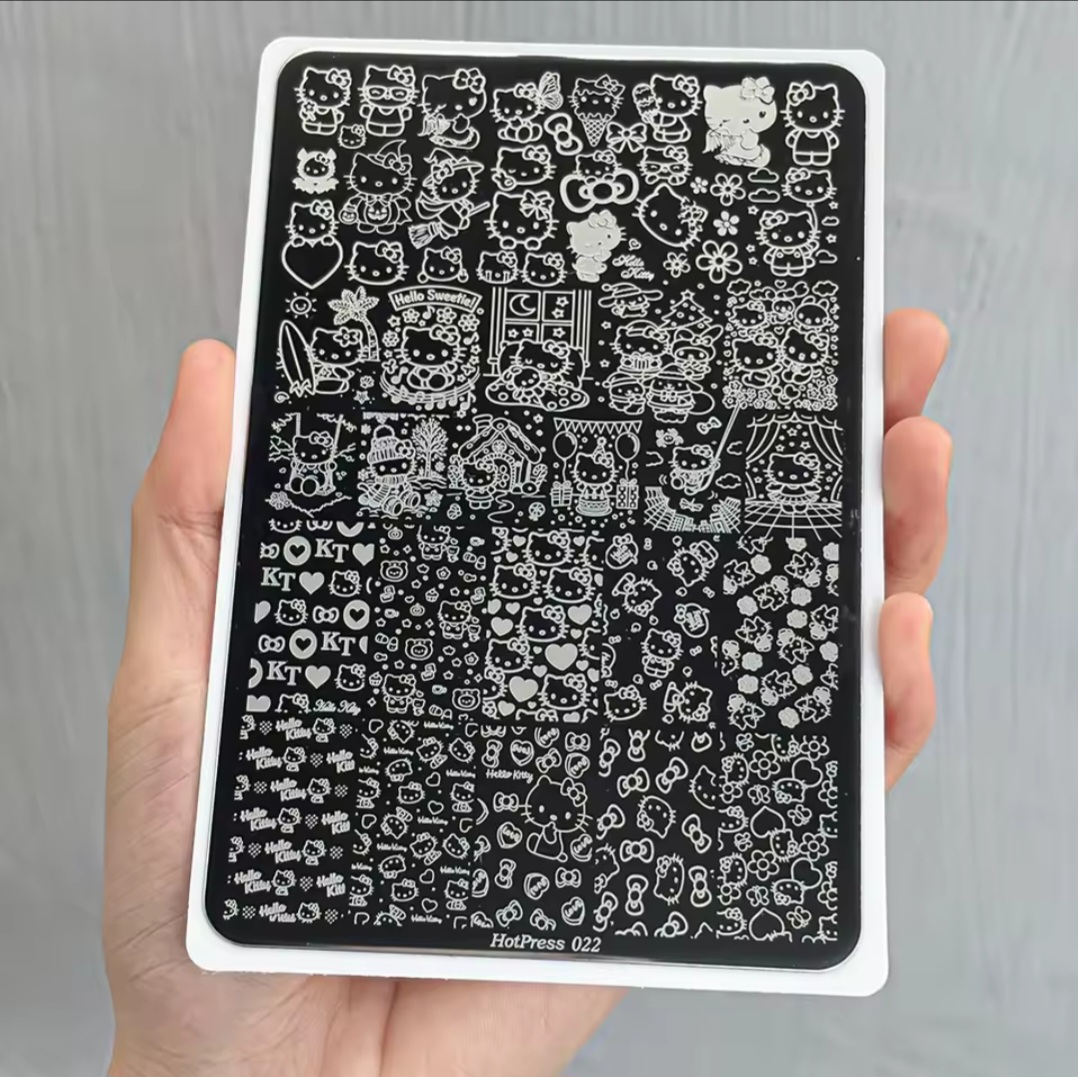
Hello Kitty Collection
If you know me, you know I have a thing for Hello Kitty. These plates are adorable without being childish — especially when you chrome them. The contrast of a cute HK motif rendered in liquid silver? Iconic.
Denim & Textural Plates
Denim nails are having a serious moment, and stamping is how you get that woven textile look without any painting. These two plates give you options for a subtle denim texture or a bold full-coverage look.
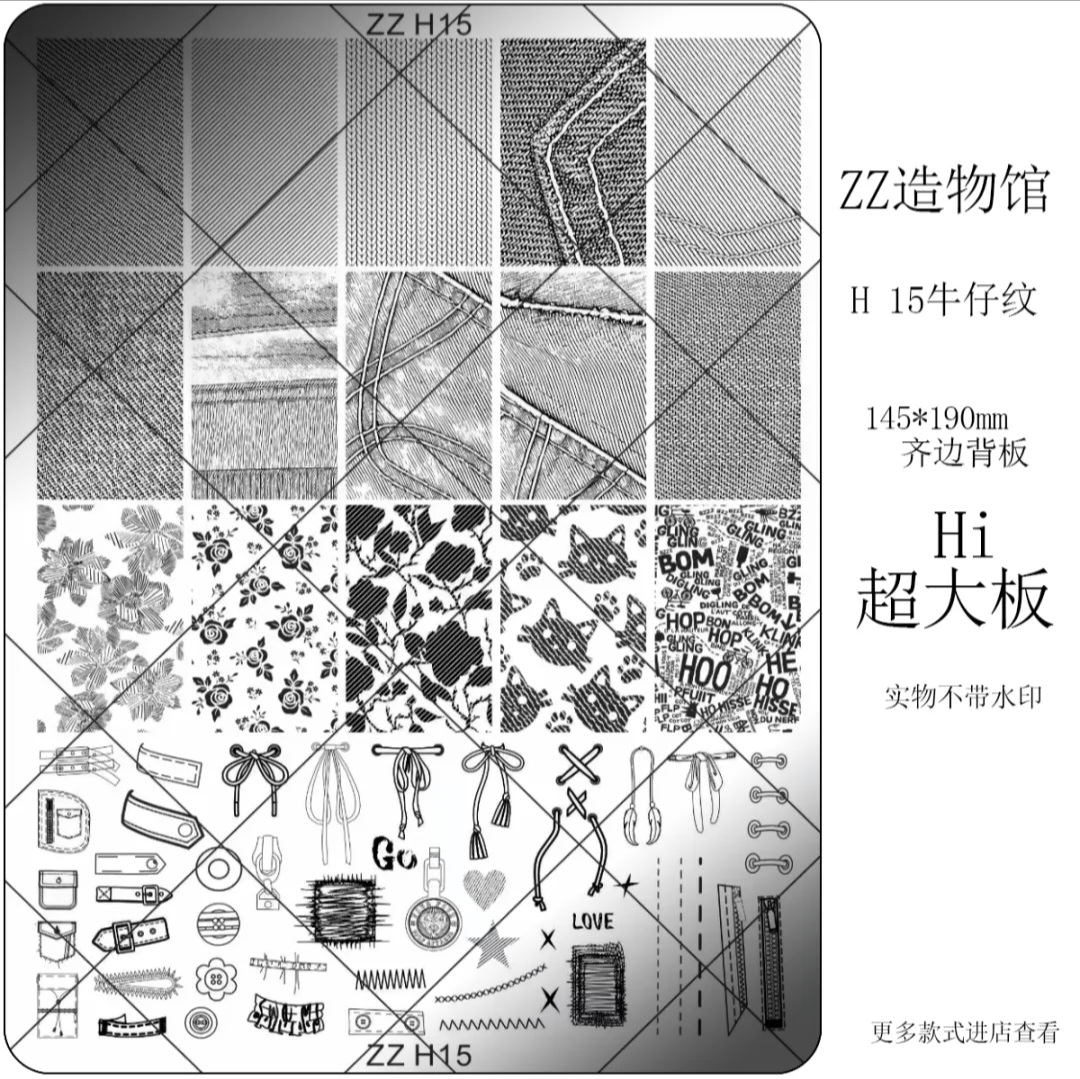
“Chrome denim nails are one of those looks that makes people stop mid-sentence and ask ‘wait, how did you DO that.’ The answer: a stamping plate and ten seconds of patience.”
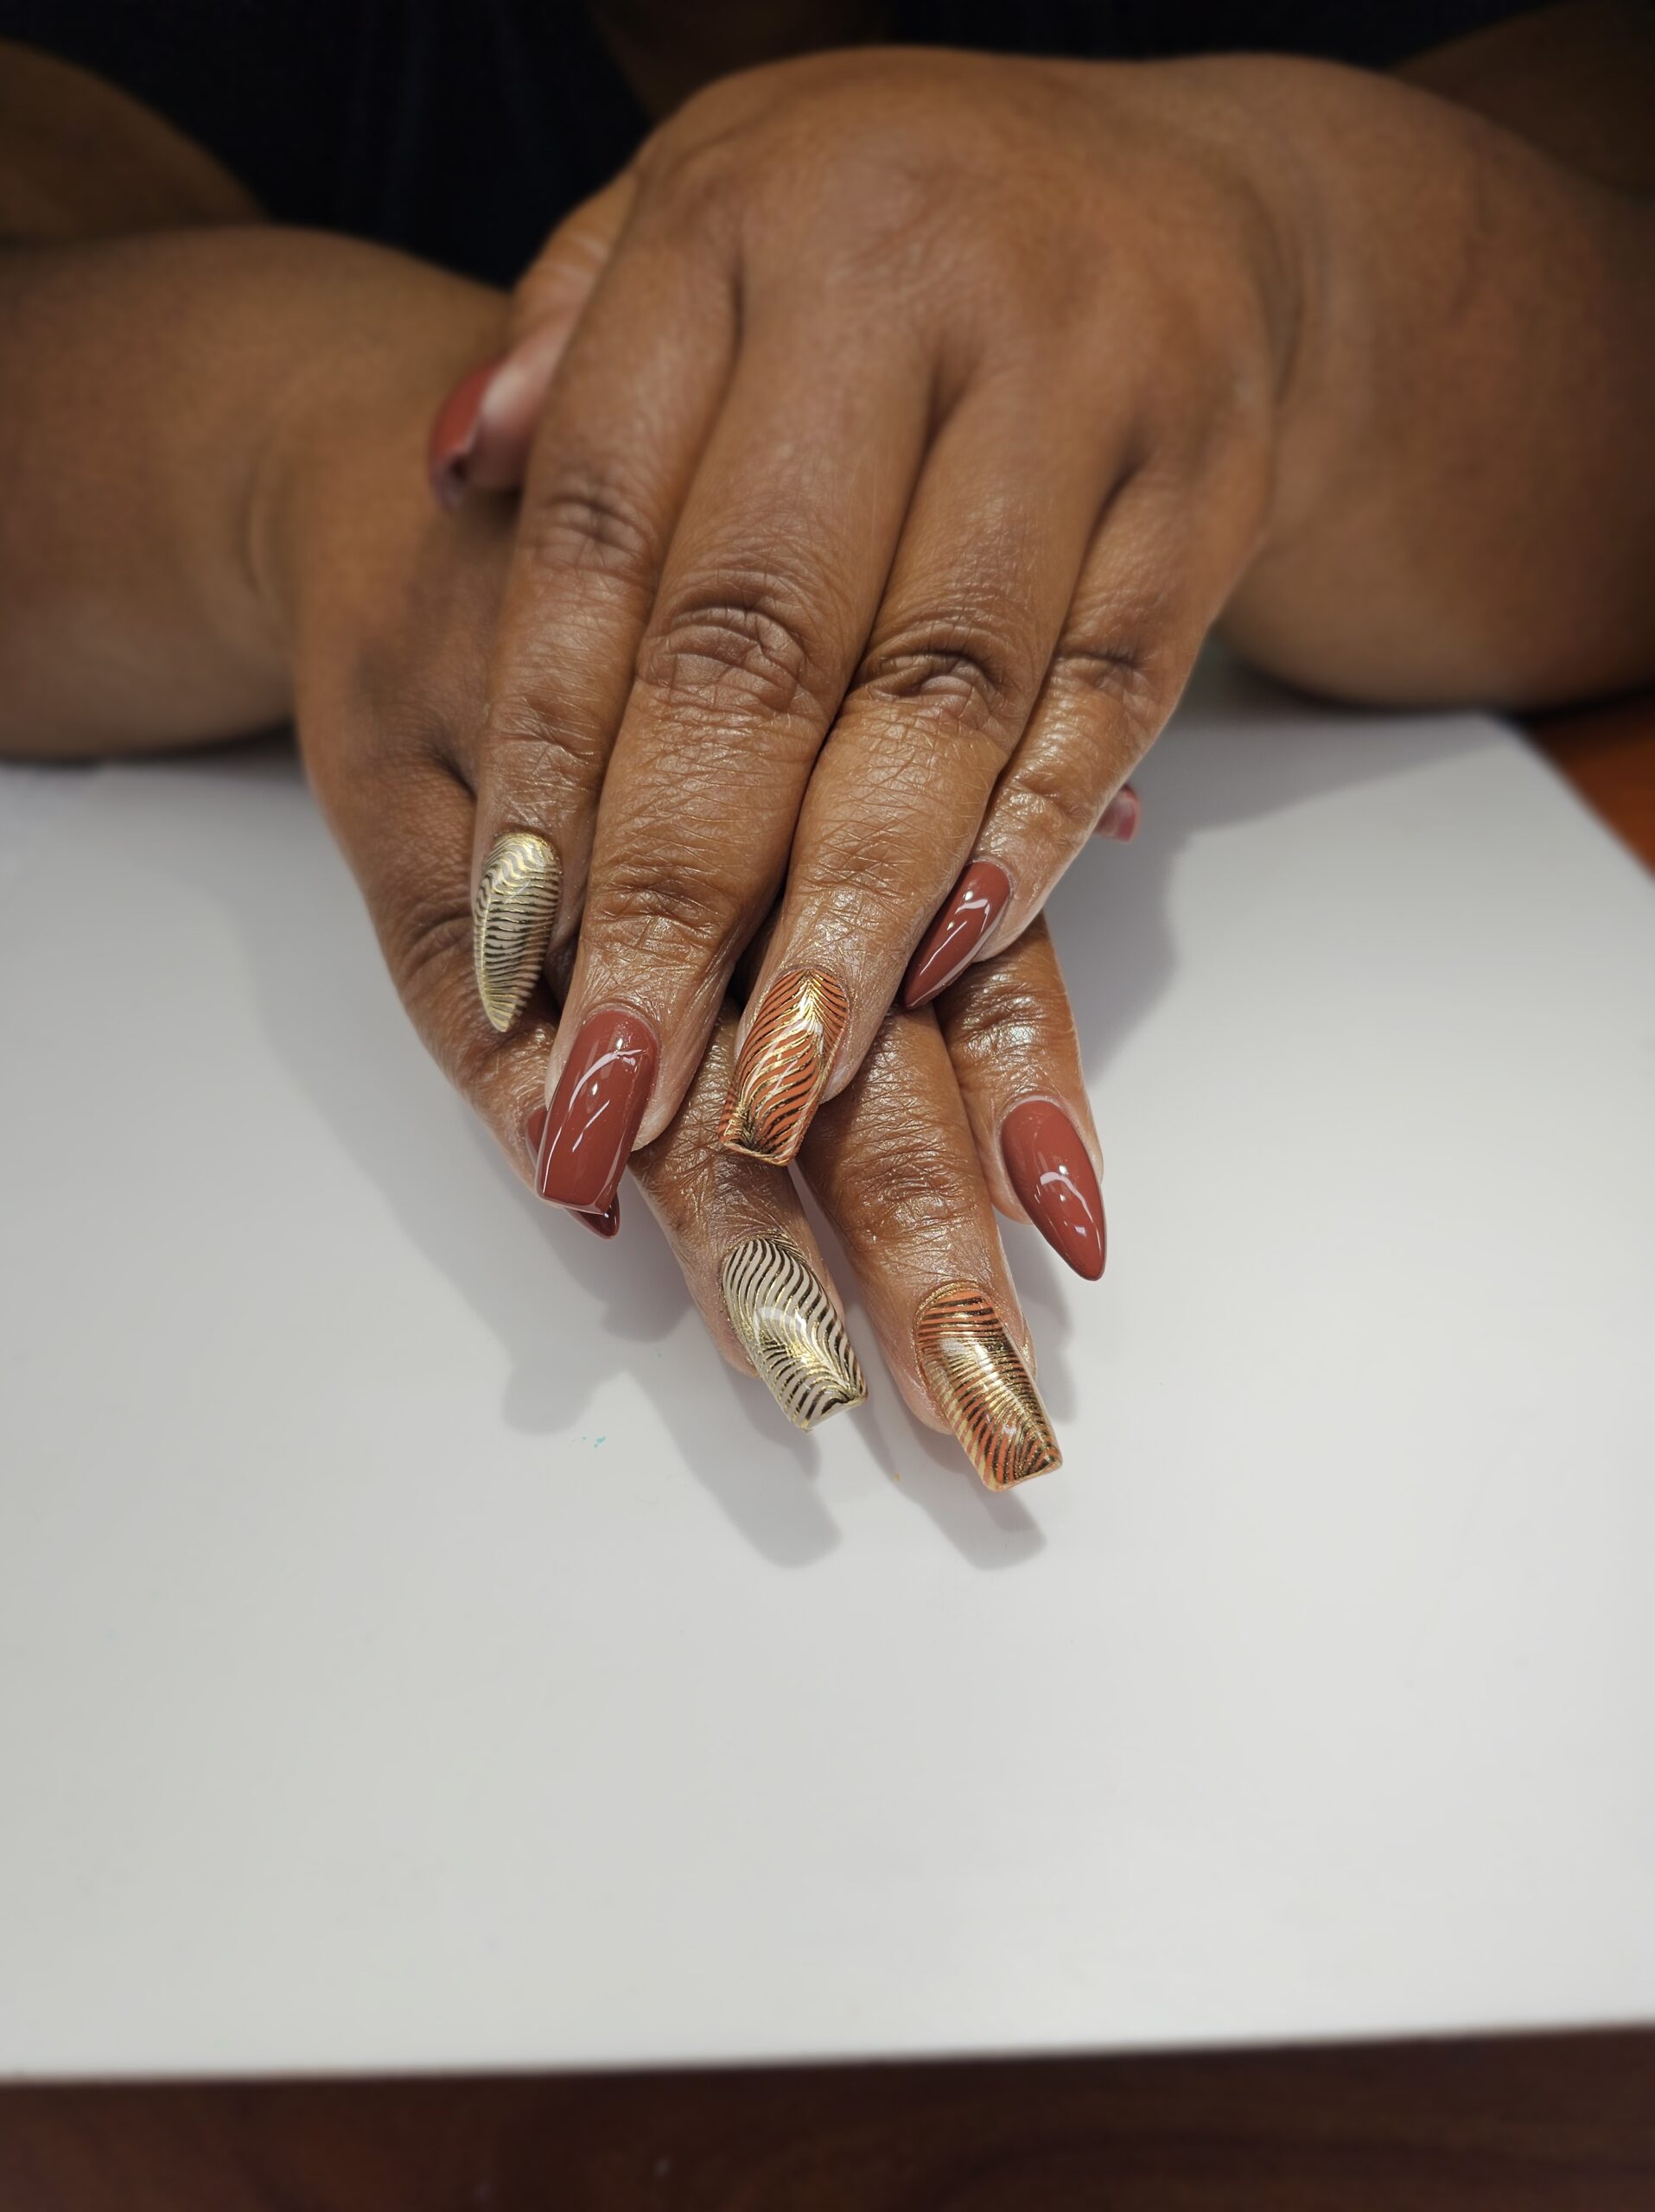
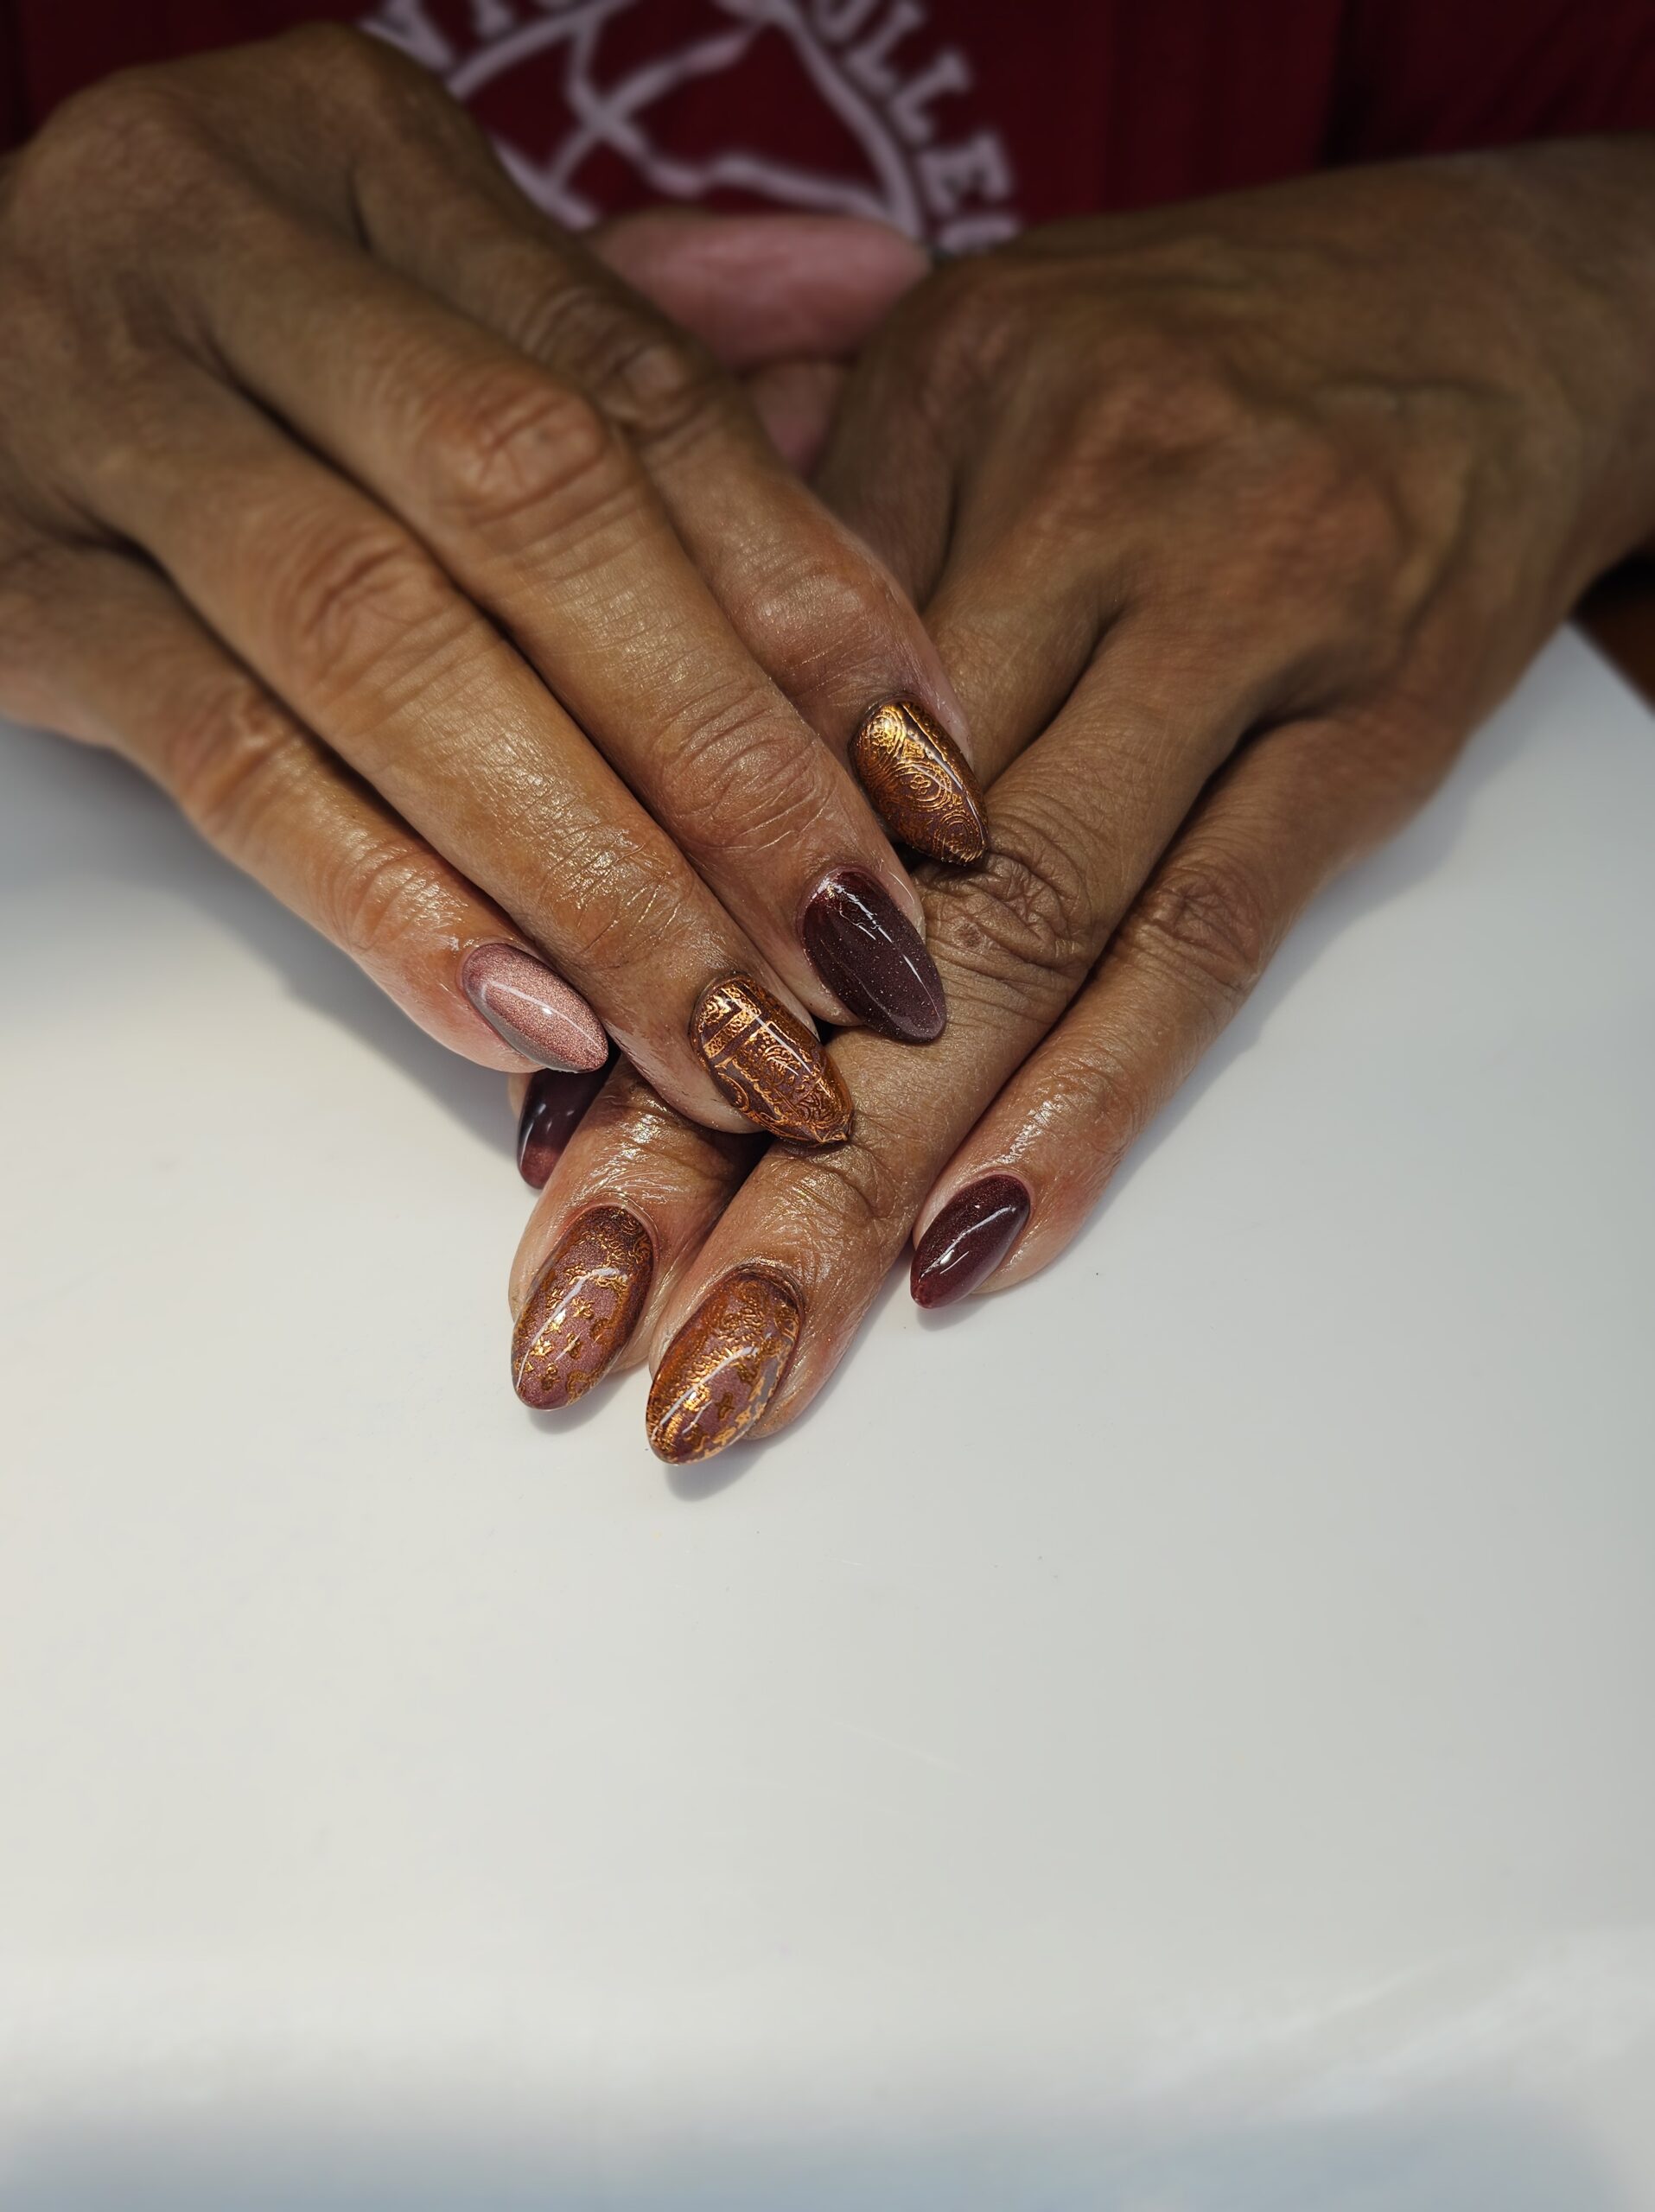
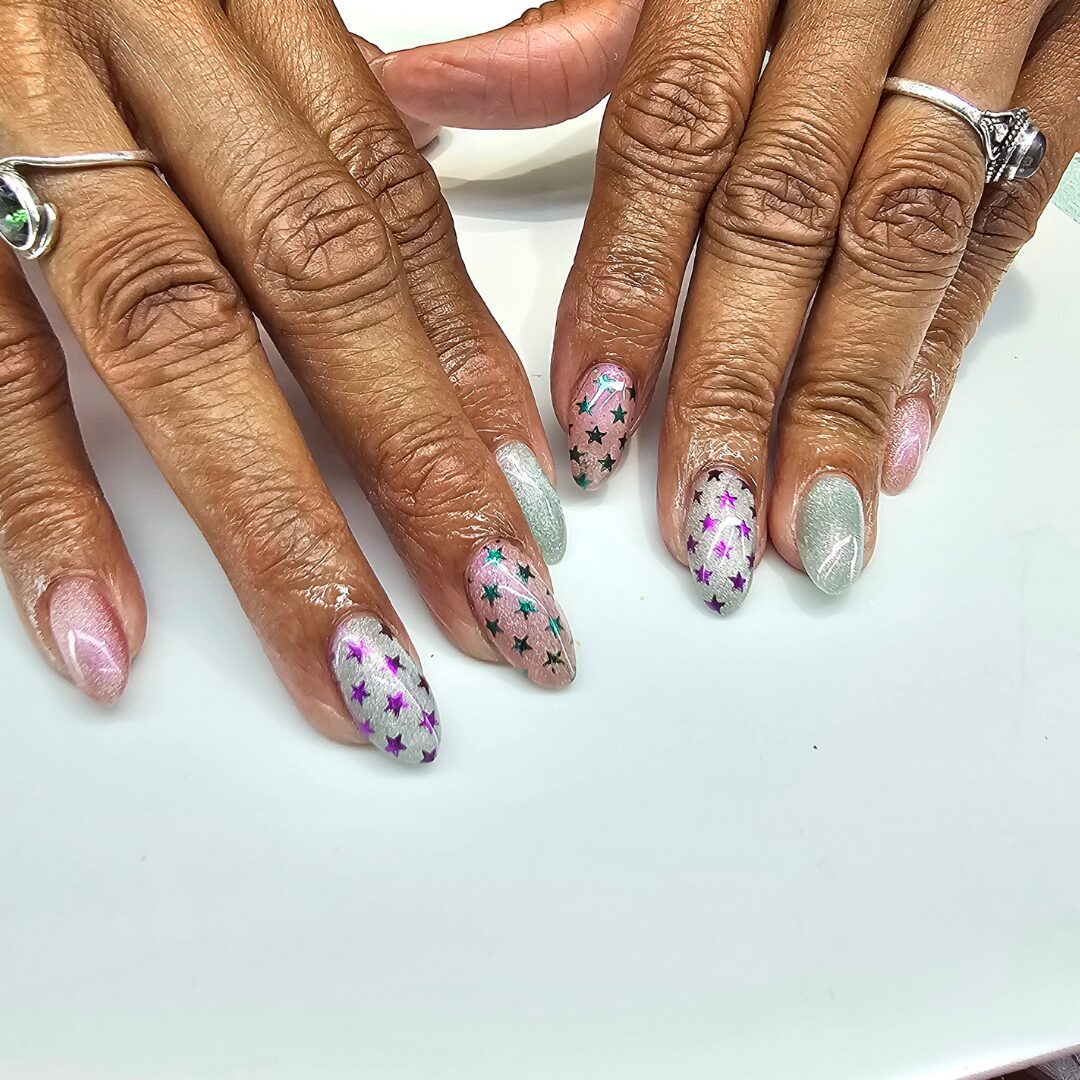
The Finished Look — My Work
Words only go so far. Here’s what this technique actually looks like in practice — these are real sets I’ve done using exactly the method and products outlined above.
That chrome hit on a stamped design is something you genuinely cannot get any other way — not with foil, not with gel paint, not with anything else. It’s in a category of its own. And once you feel how straightforward the process is, you’ll be doing it on every set.
Encapsulating with Build in a Bottle does three things: it protects the chrome from oxidizing or lifting, it adds strength and thickness to the nail, and it gives you that smooth, glass-like surface your top coat can glide over. I always encapsulate my chromed sets — it’s not optional for wear longevity.