Nail Tech Questions Answered
From “Can I really do school online?” to “How do I price like a pro?” — the questions every aspiring, new, and seasoned nail technician is actually asking, with straight-from-the-table answers and zero sugar-coating.
Everything You’ve Been Too Afraid To Ask
Whether you’re staring down nail school applications, surviving your first year behind the chair, or scaling a six-figure book of business — this is the field guide we wish we’d been handed on day one.
The most-asked nail tech questions show up everywhere you look — in beauty subreddits, in cosmetology school orientations, in the DMs of every working tech with a public Instagram. They span the entire arc of a career, from the brand-new student wondering how many hours they’ll need to clock, to the ten-year veteran trying to decide whether it’s finally time to leave their booth and open a suite. This guide collects the questions that come up most often across the industry and answers them the way a seasoned tech actually would — honestly, practically, and without the sales pitch.
We’ve organized everything into four big buckets: Nail School & Licensing, The Business Side, Working With Clients, and Products, Tools & Safety. Skim the table of contents in the sidebar, jump to what you need, or settle in with a coffee and read the whole thing — it’s structured to grow with you.
Nail School & Licensing
For the aspiring tech: what to expect, what it costs, and how to actually get licensed.
How long does it actually take to become a licensed nail tech?
Most state programs require somewhere between 300 and 600 hours of training, which translates to roughly 3 to 9 months depending on whether you’re full-time or part-time. A 400-hour program at 40 hours per week takes about ten weeks; a 600-hour program full-time runs three to four months. Add a few weeks for licensing exam scheduling and processing, and most students are working professionally within a year.
The catch is that every state is different. Texas requires 600 hours for a manicurist license. New York requires 250. Washington requires 600. Always check your state’s cosmetology or professional licensing board before you enroll — and if you plan to move states later, know that reciprocity is not guaranteed.
How much does nail school cost?
Tuition varies wildly by state and school, but plan for $3,000 to $10,000 for the program itself. Then add books, kit fees, exam fees, license application fees, and a starter tool kit you’ll buy as you train. A realistic all-in number for most students lands between $5,000 and $12,000.
A few things that help: financial aid is available at most accredited schools, some states offer scholarships specifically for cosmetology students, and many salons will reimburse continuing-education hours once you’re hired. Don’t pick a school on price alone — pick one with a strong board exam pass rate and an instructor lineup you’d actually want to learn from.
Do I need a high school diploma to enroll?
In most states, yes — you’ll need a high school diploma or GED, and you’ll need to be at least 16 or 17. A handful of states allow younger students to start with parental consent or specific credit thresholds, but the diploma requirement is nearly universal for licensure itself.
What’s actually on the state board exam?
Two parts, almost everywhere: a written (theory) exam covering anatomy, sanitation, chemistry, and state law, and a practical exam where you demonstrate a manicure, pedicure, and (in most states) some form of enhancement on a model.
The practical is where most students panic. The trick is treating sanitation as the most important graded element — examiners are watching every implement, every wipe-down, every glove change. Your polish doesn’t have to be perfect. Your sanitation does.
Can I become a nail tech online?
Yes — and this is one of the most common misconceptions in the industry. You absolutely can complete an accredited nail technician program online through a state-licensed school like BGM Science of Beauty University, a TDLR-licensed Texas school that runs structured online programs with weekly lessons, hands-on lab requirements, kit fulfillment, and exam coaching.
The pathway looks like this: you complete your training hours online, sit for your Texas state board exam (written and practical), and earn your Texas manicurist license. From there, you can apply to transfer your Texas license to your home state through a process called reciprocity.
The catch: reciprocity is not automatic and not uniform. Every state’s licensing board sets its own transfer rules. Some states accept Texas licenses with a simple application and fee. Others require additional hours, a state-specific law exam, or even partial retraining. Before you enroll in any online program, call your home state’s cosmetology or licensing board and ask exactly what they require to honor an out-of-state license. Get the answer in writing.
Online school is a real, legitimate path — especially for working adults who can’t attend traditional in-person hours — but it only works if you do the homework on your destination state first.
Do nail schools actually teach you anything? I keep hearing they don’t.
Let’s bust this myth right now. Good schools absolutely teach. The reason this rumor refuses to die is because the quality of nail programs varies enormously — some schools are excellent, some are coasting on accreditation alone, and the difference is on you to figure out before you sign a tuition agreement.
Don’t enroll based on price or convenience. Read every review you can find — Google, Yelp, TikTok, the school’s own social media comments. Tour the school. Talk to current students. Talk to graduates. Ask hard questions and watch how the admissions team answers them. A great program will welcome the scrutiny. A weak one will deflect.
If you put in the research and pick a school that takes its instruction seriously, you will leave with the skills, the confidence, and the licensing knowledge to launch a real career. If you pick a school based on the cheapest tuition or the closest location and don’t ask a single question, you’ll graduate frustrated and undertrained — and then blame the industry. The school you choose matters more than the path you take to get there.
Three questions every prospective student should ask
When you tour a school or sit down with admissions, these three questions will tell you almost everything you need to know about the quality of the education you’re about to pay for:
1. Is your nail program taught by a licensed nail instructor? — Not a cosmetology generalist who covers nails as a side topic. A licensed, specialized nail instructor.
2. How long has the instructor been doing nails, and what does their personal work look like? — Ask to see their portfolio. If they don’t have one, that’s your answer.
3. Does the school have any brand partnerships, and what additional offerings come with the program? — Brand partnerships mean access to professional product education, discounts, and often industry connections that translate directly into job opportunities.
Is this actually the right career for you?
Before you spend the money and the hours, sit with this honestly: nail tech is a hands-on, people-facing, hustle-driven career. You are not getting a desk. You are not getting a salary handed to you. You are building a business with your hands and your personality, one client at a time.
If you lack confidence speaking to strangers, if you don’t have the initiative to put yourself out there, if you’re hoping clients will just appear — this may not be the career for you. How else will you get clients? No school, no salon, and no Instagram algorithm is going to do that part for you. You will have to put yourself out there. Period.
The techs who thrive are the ones who are willing to be a little uncomfortable, to introduce themselves, to ask for the booking, to post the reel, to follow up. If that sounds like you — even if you have to grow into it — you’ll be fine. If it doesn’t, rethink it now before tuition is due.
The Business Side
Pricing for your ideal client, choosing a payment model, building legal protection, and the questions every tech faces when the side hustle becomes a real business.
Should I work commission, rent a booth, or open my own salon?
This is the single biggest financial decision most new techs face, and there’s no universal answer — only the answer that fits your stage of career, cash reserves, and risk tolerance.
Commission is the safer entry point. You’re an employee, taxes are withheld, the salon supplies products, marketing, and clients. The trade-off is income ceiling: typical commission splits run 40/60 to 60/40, meaning you keep less of what you earn. It’s the right model for someone still building skill, building a book, or learning the business.
Booth rental flips the math. You pay a flat weekly or monthly fee — commonly $150 to $700 per week depending on market — and keep 100% of your service revenue. You’re an independent contractor responsible for your own products, supplies, marketing, scheduling, and taxes. The income ceiling is dramatically higher, but so is the overhead and the discipline required.
Salon suites sit in between — you rent a private mini-salon space (usually $250 to $600 per week) without the overhead of opening your own standalone location. They’re ideal for techs with an established clientele who want full autonomy without signing a commercial lease.
A simple rule of thumb: if you have fewer than 20 loyal repeat clients, stay on commission. If you have a full book and you’re paying your salon more in commission splits than booth rent would cost, it’s time to make the move.
Nail Tech Money Moves
The full series on building real income as a nail tech — pricing, profit margins, payment models, and the financial habits that separate techs who survive from techs who scale.
Watch on YouTubeHow should I price my services as a new nail tech?
Pricing is where most new techs sabotage themselves — not by overcharging, but by trying to be affordable to everyone. Stop building your business with the goal of serving everyone. Start building it with one specific client in mind.
Who is she? What does she do for a living? What’s her budget for self-care every month? Where does she live? What’s her aesthetic — clean girl, glam, edgy, editorial? Once you can describe your ideal client in detail, every business decision gets easier: your pricing, your service menu, your social media content, your location, even the music in your space. Niching down feels counterintuitive, but it’s how you build a sustainable, profitable book. Trying to please everyone means appealing strongly to no one.
Location matters more than most new techs realize. If your ideal client values self-care and is willing to invest in her nails, set up your business where she already lives, works, or shops. Higher-income areas aren’t about charging more for the same service — they’re about working with clients who have already built self-care into their budget. They book consistently, they tip well, they refer their friends, and they don’t haggle. Your location should match the client you want to serve.
Once you know your client and your market, the math gets simple: calculate your cost per service (products + time + station overhead + a margin for profit, not just break-even), check local pricing in your target area (not the cheapest salon across town), and price at or above the mid-range for your skill level. Raise prices every six months as your speed and book improve.
The most common new-tech mistake is pricing too low to “stay competitive.” Cheap pricing attracts price-shoppers, not loyal clients — and it’s brutal to raise prices on a clientele you built on bargain rates. Charge what your time is worth from day one.
Tools I built to make this easier
Pricing your services and building a client list from scratch are the two things I get asked about constantly — so I built tools to take the guesswork out of both. These are over at my Glam Goodiez shop and they’re designed specifically for working nail techs:
→ Nail Service Price & Profit Calculator
Plug in your costs, your time, and your target margin — the calculator tells you exactly what to charge so you’re profitable, not just busy.
→ AI Client Building Course for Nail Techs
A step-by-step course that walks you through using AI to build your ideal client profile, attract that client online, and convert followers into paying bookings.
How do nail techs handle taxes if they’re booth renters?
As an independent contractor, no one is withholding taxes for you, so you’re responsible for both income tax and self-employment tax (about 15.3%). Most techs set aside 25 to 30% of every dollar they earn in a separate account and pay quarterly estimated taxes to the IRS.
Hire a bookkeeper or accountant who works with beauty professionals. The cost pays itself back in deductions you didn’t know you could take — supplies, mileage to continuing education, business phone, a portion of your home office if you do social media work from home, professional liability insurance, the list keeps going.
How do I protect myself legally? Do I need an LLC, insurance, or both?
You need both, and a lot of new techs confuse the two. They do completely different things, and one without the other leaves a gap that can cost you your house.
Professional liability insurance (sometimes called “malpractice” insurance for service pros) is what pays out when something goes wrong with a service. A client has an allergic reaction. You nick a finger and it gets infected. Someone slips in your space. Your insurance covers legal defense costs and pays out settlements or judgments up to your policy limit. Plans through associations like the Professional Beauty Association or Nailpro typically run $100 to $200 per year — the cheapest peace of mind in the industry. A salon owner cannot legally require you to use theirs if you’re a booth renter.
An LLC (Limited Liability Company) is something entirely different. It’s a legal business structure that separates your personal assets — your home, your car, your personal bank accounts, your savings — from your business assets. If your business is sued for an amount that exceeds your insurance policy limit, or if your business takes on debt, an LLC is what stops the plaintiff or creditor from coming after your personal property. Without an LLC, you’re operating as a sole proprietor and there’s no legal wall between you and your business. Everything you own is on the table.
Think of it this way: insurance pays the claim. The LLC protects what’s left if the claim is bigger than your coverage. That’s why working techs need both.
LLC formation rules vary significantly by state. In Texas, filing the certificate of formation costs around $300 with no annual franchise tax for most small businesses below the revenue threshold. In California, it’s a $70 filing fee plus an $800 annual franchise tax, regardless of how much your business earned. New York requires a publication requirement that can run $1,000+ in some counties. Florida is roughly $125 to file and $138 annually. Always check your specific state’s requirements through your Secretary of State website — or, better, work with a CPA or business attorney who has set up beauty businesses in your state. An hour of their time will save you years of mistakes.
And if you’re operating as a booth renter or salon owner, also look into a separate business bank account, an EIN (free from the IRS in five minutes), and the resale or seller’s permit your state may require. These aren’t optional — they’re how the IRS, your state, and your future self all know you’re running a real business.
How do I actually build a clientele from zero?
Once you know exactly who your ideal client is (see the pricing answer above), the question stops being “how do I find clients” and becomes “where does my client already spend her time, and how do I show up there?”
The fastest-growing books I’ve watched come from a stack of small, unsexy habits aimed at one specific audience: post finished work on Instagram and Pinterest the same day you do it (with consistent lighting and angles), respond to DMs within an hour, ask every happy client to leave a Google review, build a referral discount into your pricing, and treat your first 50 clients like they’re paying you double.
Pinterest in particular is the long game most techs ignore — a single pin can drive bookings for years, while an Instagram post is invisible after 48 hours. If you’re going to learn one marketing platform, learn that one.
How To Get Clients With Instagram
A full breakdown of the Instagram strategy that actually converts followers into paying clients — content that books, the captions that close, and the posting rhythm that builds momentum.
Watch on YouTubeThe five-year math problem
Run this number once a year: take your average service price, multiply by your weekly client count, multiply by 50 working weeks. That’s your annual revenue. Now subtract your supply costs, rent or commission split, taxes, and insurance. The number left is what you actually take home. If it’s not growing year over year, something has to change — your pricing, your model, or your hours.
Working With Clients
Tipping, difficult clients, no-shows, and the etiquette questions that define your reputation.
How much should clients tip a nail tech?
Industry standard sits at 20% of the pre-discount service total. Excellent service or complex work (intricate art, structured gel, sculpted extensions) commonly bumps it to 25%. Tipping based on the discounted price after a coupon is a pet peeve in this industry — the work was the same.
Cash is preferred at most salons because credit card tips are sometimes pooled or delayed. And yes, you tip the salon owner the same percentage if they personally did your service — the old “don’t tip the owner” rule is outdated.
What do I do when a client is unhappy with their nails?
First, listen without defending. Most “I hate them” reactions are really “this isn’t what I pictured.” Ask specifically what they’d like changed — shape, color, length, art — and if it’s within your skill set and time, fix it on the spot at no charge.
If the issue surfaces days later, have a written policy: most salons offer free repairs within 3 to 7 days for legitimate work issues (a lifted nail, a chipped enhancement) but do not refund services already rendered. Communicate this policy at booking, post it on your website, and stick to it. Boundaries protect both of you.
How do I handle no-shows and chronic late arrivals?
Take a deposit at booking. Even a $25 non-refundable booking fee cuts no-shows by 80% in most practices. Set a clear late policy (typically: 10 minutes late triggers a service modification, 15 minutes triggers cancellation) and put it on your booking confirmation so no one is surprised.
For repeat offenders, a “two strikes” policy is fair: after two no-shows or last-minute cancellations, the client moves to a prepay-only status. You’re not running a charity — an empty chair is lost income that doesn’t come back.
Should I let clients bring their own polish or products?
Most pro techs say no, and for good reason. You don’t know how the product was stored, whether it’s expired, whether it’s compatible with your base and top coats, or whether it contains MMA (a banned chemical in many states). If a client’s nails lift or react, you’ll be blamed regardless of whose product caused it.
A polite script: “I love that you found a color you love — send me a picture and I’ll match it from my professional line so I can guarantee the wear.”
Is it okay to fire a client?
Absolutely yes. A consistently rude, chronically late, boundary-pushing, or non-tipping client costs you more than they pay you — in stress, in time, and in the energy you can’t bring to your next appointment. The script is short and professional: “I don’t think I’m the right tech for what you’re looking for, and I want you to find someone who is. I won’t be able to schedule you again.” Then refer them out and move on.
How To Fire Clients
A full series on the conversation no one teaches you in nail school — how to recognize a client who needs to go, what to actually say, how to do it without burning bridges, and how to protect your energy and your business in the process.
Watch on YouTubeProducts, Tools & Safety
What every starter kit actually needs, what to skip, and the safety standards that separate professionals from hobbyists.
What’s in a real beginner nail tech starter kit?
Skip the 200-piece Amazon mega-kits. A working professional kit includes: a quality e-file (saves your wrists for the next thirty years), a set of files and buffers (180/240 grit covers most jobs), a proper UV/LED lamp (48W minimum), a starter set of gel polishes (nudes, reds, one black, one white — expand from there), base and top coat, cuticle nippers, cuticle pusher, nail prep dehydrator and primer, cuticle oil, and an autoclave or barbicide jar for sanitation.
For enhancements, you’ll add either an acrylic system (powder, monomer, brush, forms or tips) or a builder gel system — pick one and master it before adding the other. The biggest waste of money for new techs is buying every system on the market.
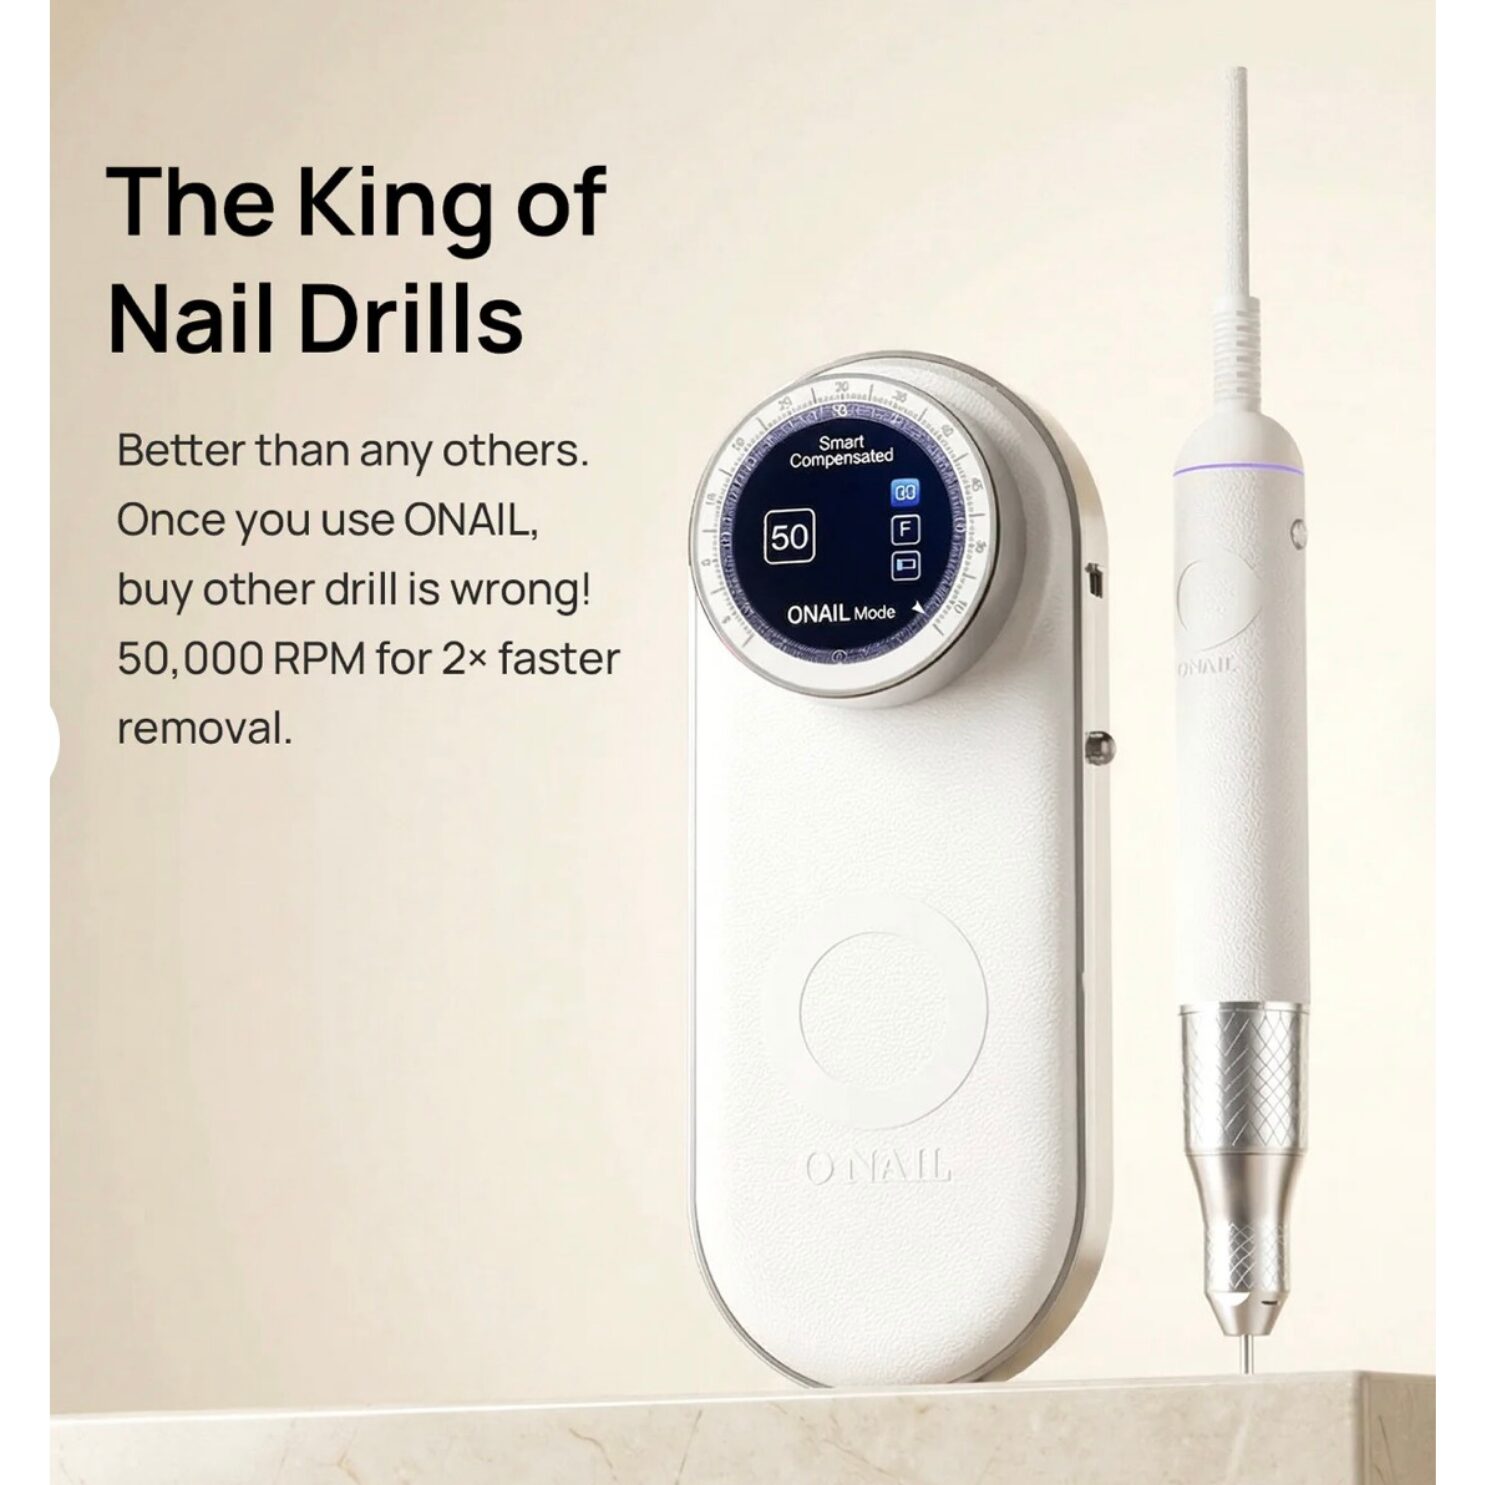
The Onail Professional E-File
The single tool I’d buy first if I were starting over. Hand-filing for eight clients a day is how techs end up with carpal tunnel by year three. The Onail drill has the speed, torque, and reliability to handle a full book without overheating — and it’s the one I personally use and recommend.
Shop The Onail DrillNeed help choosing the right bits? Read my full guide: Nail Bits For E-File →
What’s the difference between gel, acrylic, dip, and polygel?
Acrylic is a powder-and-liquid (monomer) system that air-dries by chemical reaction. It’s the strongest enhancement, the most customizable, and the most technique-dependent. Hard gel is a thicker gel that builds length, cures under UV/LED light, and feels lighter than acrylic but is harder to remove. Dip powder uses a resin base and colored powder cured with an activator — faster than acrylic, no lamp required, but less customizable for art. Polygel is a hybrid of acrylic and gel: shaped like acrylic, cured like gel, and far more forgiving for beginners.
None is “better.” They’re tools. Most working techs offer two of the four and refer out the rest.
How do I avoid lifting and product retention issues?
Ninety percent of lifting is prep. Push back the cuticle, gently remove the pterygium (the thin layer of skin on the nail plate), lightly buff the nail surface to break the shine, dehydrate, and primer. Skip a single step and your client is back in three days with a popped enhancement.
The other 10% is application: never touch the cuticle or sidewall with product, cap your free edge on every nail, and don’t apply product over moisture. Master prep, and your retention will compete with anyone in the industry.
Are nail products safe? What about the chemical exposure?
The risks are real and worth taking seriously. OSHA documents that techs face higher rates of asthma, contact dermatitis, and chemical sensitization — especially to methacrylates in acrylic and gel products. The good news is that the protective measures are simple: source-capture ventilation at your station (not just a fan), nitrile gloves, an N95 or P100 mask when filing, and never working with MMA (which is banned in most states for a reason).
For clients, the most common issue is allergic contact dermatitis from under-cured gel. Cure every layer for the full recommended time, use the lamp wattage your gel manufacturer specifies, and never let uncured gel touch skin.
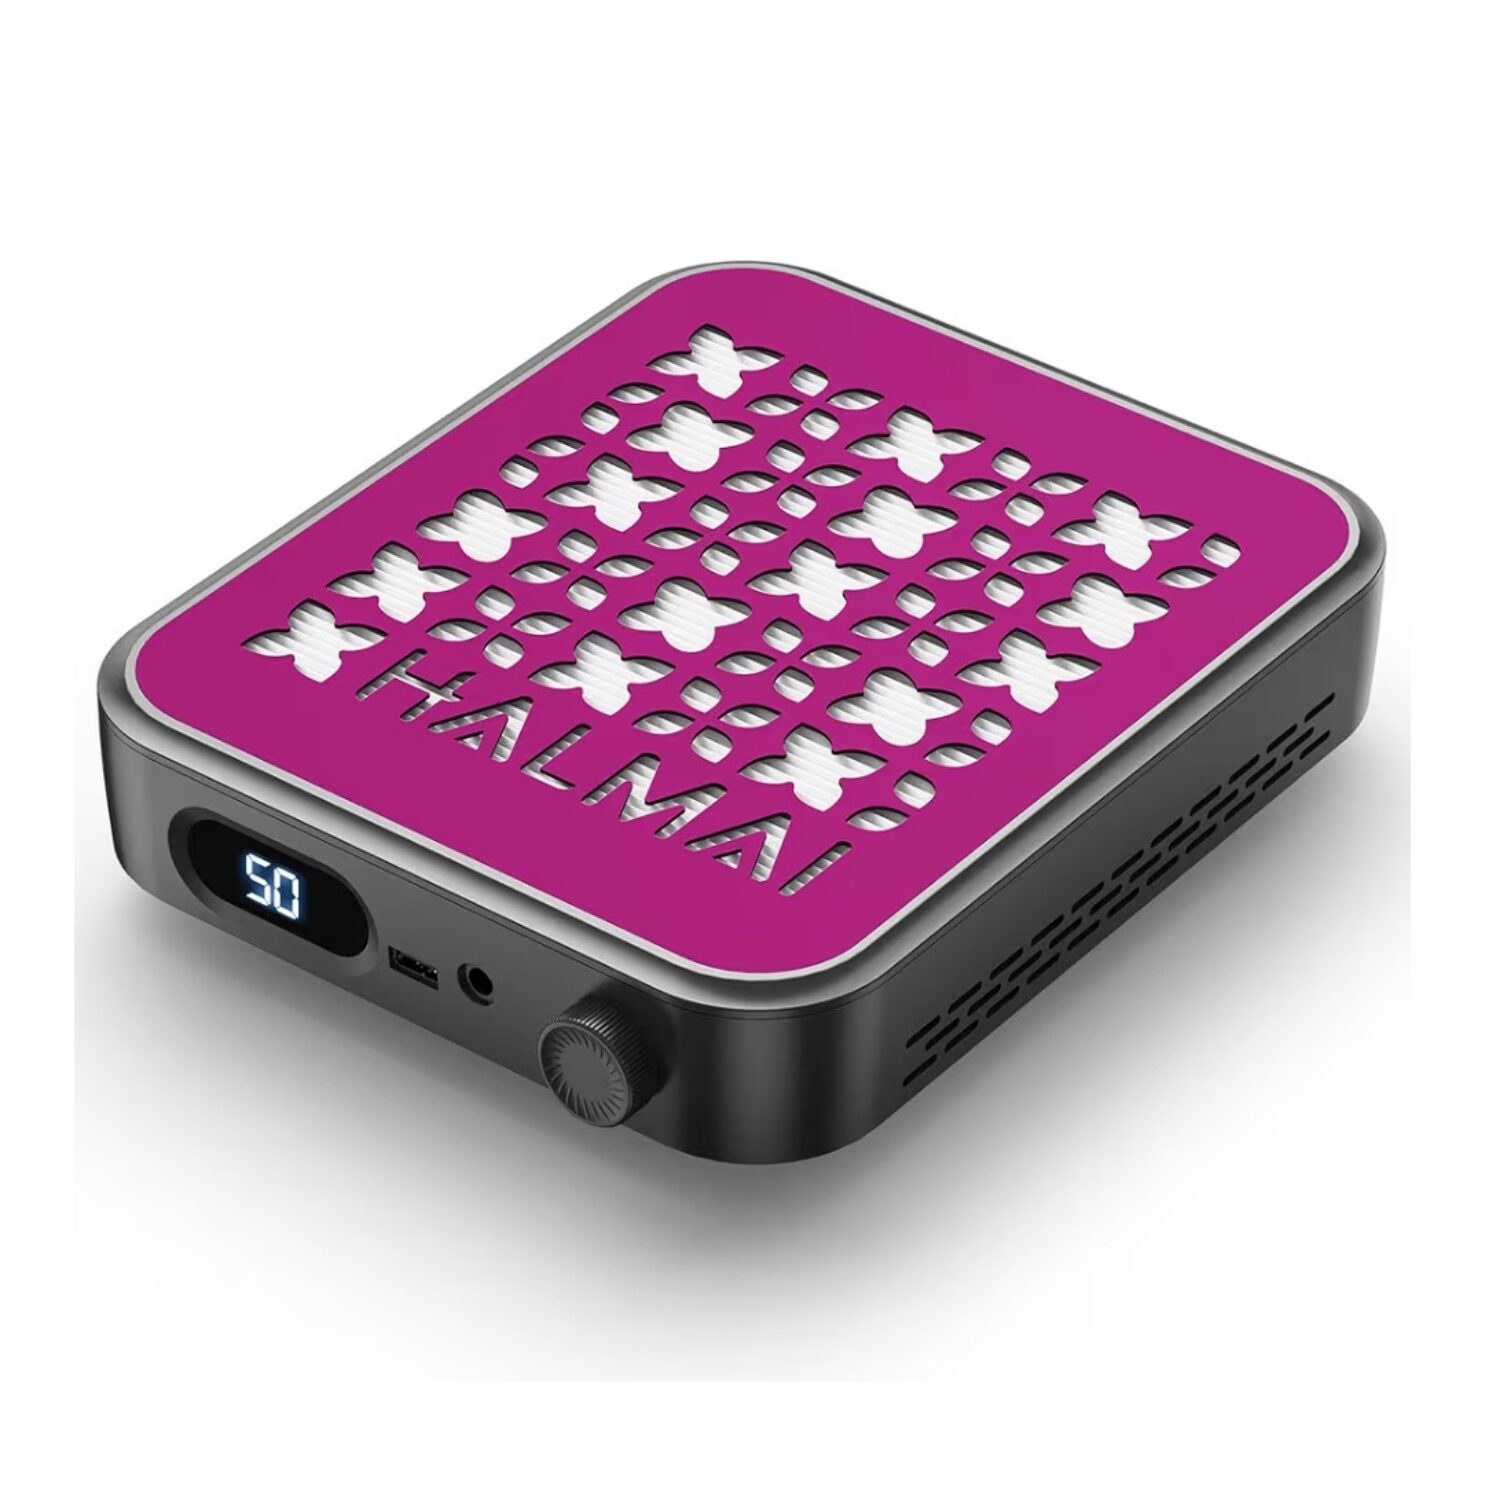
Halmai Source-Capture Dust Extractor
A countertop dust collector pulls filings and chemical vapors away from your face before you breathe them. The Halmai extractor has the suction strength and filter quality to actually do the job — not just blow dust around. Non-negotiable for full-time techs. Your respiratory system in year fifteen will thank you.
Shop on AmazonHow often should I really sanitize my tools?
Between every single client, every time, no exceptions. Multi-use metal implements (nippers, pushers, drill bits) should be washed with soap and water, then fully submerged in an EPA-registered hospital-grade disinfectant for the full contact time on the label. Files, buffers, and pumice are single-use — either give them to the client to take home or dispose of them.
If your state requires an autoclave, use it. If it doesn’t, an autoclave still elevates you above 90% of techs and is the easiest visible signal to clients that you’re a professional. Sanitation is marketing.
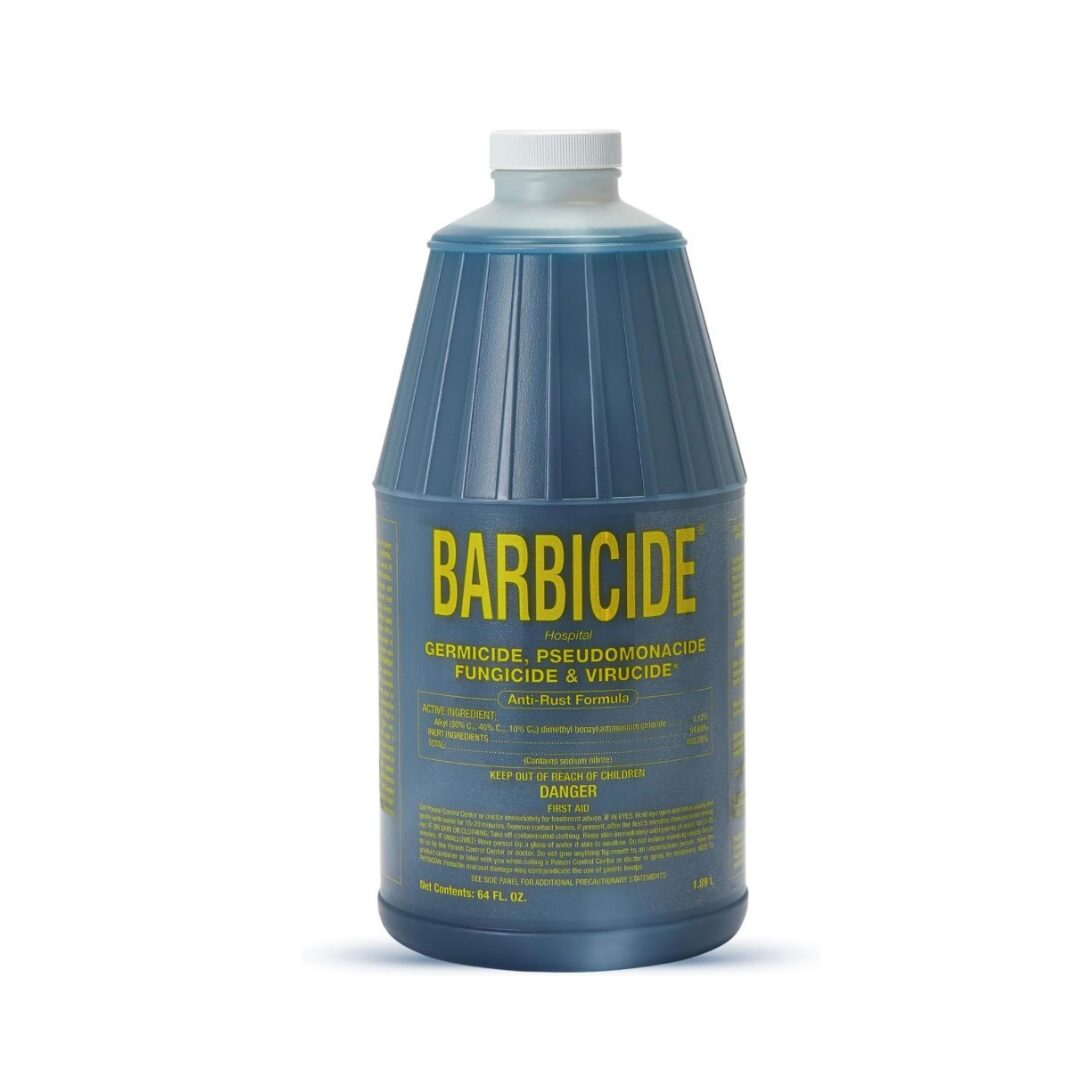
Barbicide Hospital-Grade Disinfectant
EPA-registered, bactericidal, virucidal, and fungicidal. The workhorse jar that should sit on every professional station. Cheap, essential, and the bare minimum your state board expects to see — and the easiest visible signal to clients that you take sanitation seriously.
Shop on AmazonEvery one of these nail tech questions made it into this guide because someone — a student, a new tech, a working professional — needed an answer and didn’t know where to ask. Bookmark this page, share it with a tech who’s just getting started, and send me your own questions for the next edition. The industry is better when we teach each other.
Glam NailZ · nailtechkit.com